

Using the tutorial below will help you install, setup and configure NS Google Sheets Connector Pro so that you can pass along your Contact Form 7 form data (and WooCommerce data!) into a Google Sheet.
How does it work? Once you configure everything correctly, NS Google Sheets Pro will capture your Contact Form 7 submissions and send each field to a new row in the correct columns (1 per field) to the Google Sheet that you have set up. Ready to get started? Here we go:
- Install and activate the NS Google Sheets Connector Pro plugin and the Contact Form 7 plugins (if you are on the fence about buying GSC PRO, we have a 30 day money back guarantee)
- Create the Contact Form 7 form that you want to use to capture data. (pro tip: make note of the form ID and field names for later use)

- Log in to your Google Account and create a new Sheet and assign a name to the title and tab.
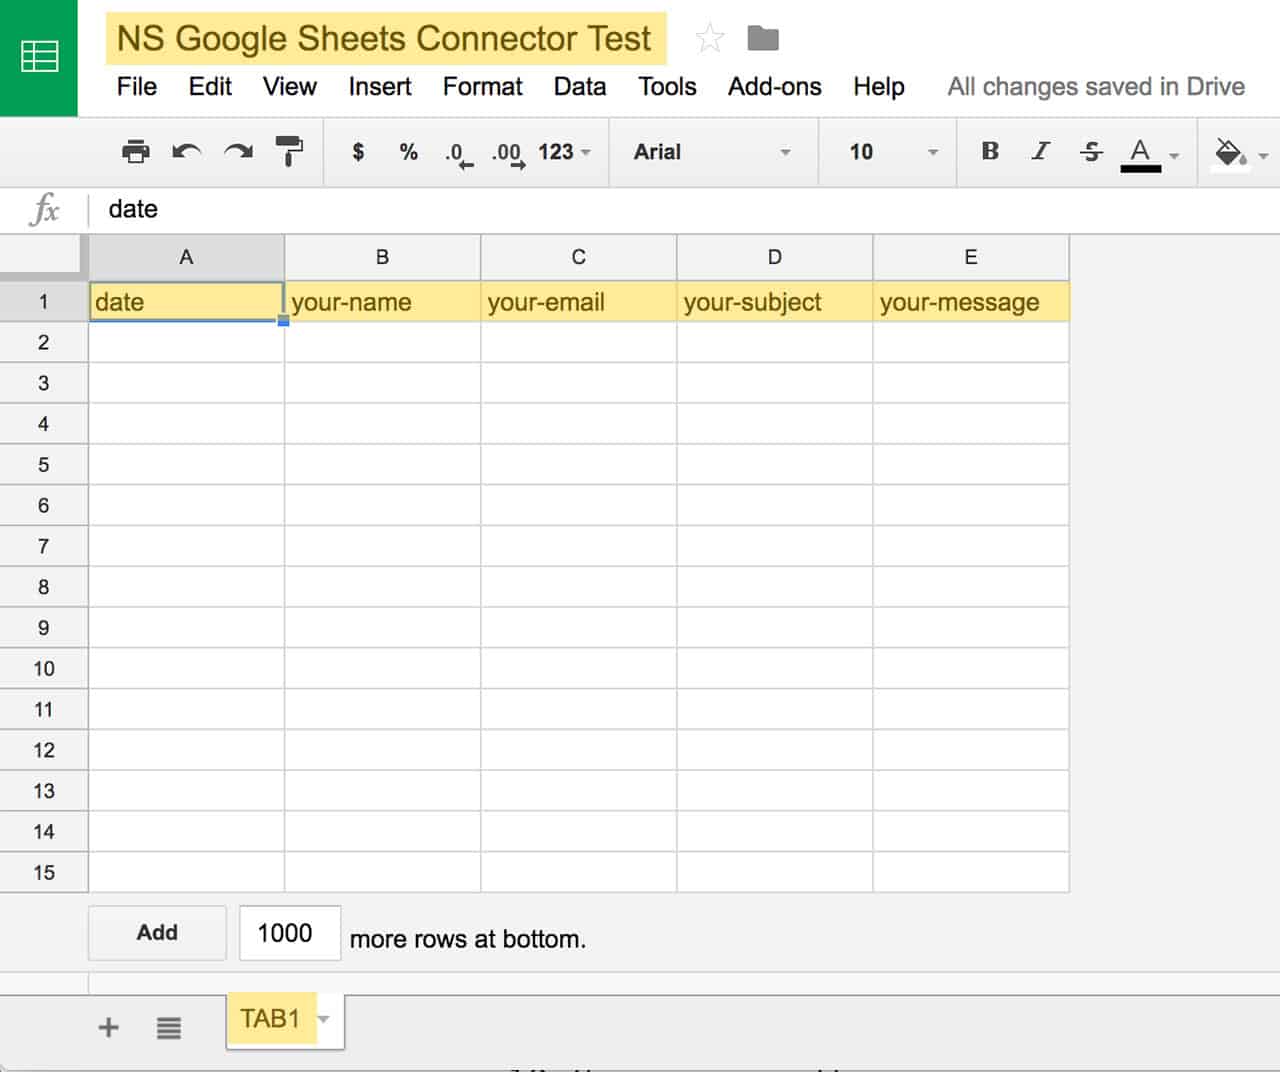
- (IMPORTANT!) Add a column name in Row 1 for “date” and each form field you will have in your form (default CF7 form field names are “your-name”, “your-email”, “your-subject”, “your-message”).
- Head over to Settings > NS Sheets to configure the plugin and click the ‘here’ link to generate a Google Code and paste it in the Google Access Code box with the placeholder ‘Enter your code here’.

- Add the sheet name, tab name and your Contact Form 7 ID (from step #2) in the settings.
- Save your settings.
- Test your form submit and verify that the data shows up in your Google Sheet.
- Celebrate!
Questions? Comments? Feature Requests? Head on over to support.neversettle.it and let us know!
.svg)


.svg)
.svg)